
Custom Photo Booth Overlay Design for Corporate Brands
Warning: Attempt to read property "ID" on false in /home/u862242046/domains/phillyphotobooths.com/public_html/wp-content/themes/yootheme-1/packages/theme-wordpress/functions.php on line 83
Warning: Attempt to read property "display_name" on false in /home/u862242046/domains/phillyphotobooths.com/public_html/wp-content/themes/yootheme-1/packages/theme-wordpress/functions.php on line 85
A branded photo booth is only as good as what it prints. For corporate marketers, the overlay design has to hit the same standards as any other piece of branded collateral: correct logo, correct colors, correct fonts, every time. Most photo booth overlay content online is written for weddings and birthday parties, with drag-and-drop templates meant for a bride, not a brand manager. Corporate teams need something different: a defined process for submitting brand assets, getting proofs approved, and knowing exactly who signs off before the event.
This guide walks through custom photo booth overlay design from a corporate marketing team’s point of view. It covers what to send, how approvals work, and how to keep branding consistent across every strip a guest walks away with.
What Is a Custom Photo Booth Overlay (And Why Corporate Brands Need One)
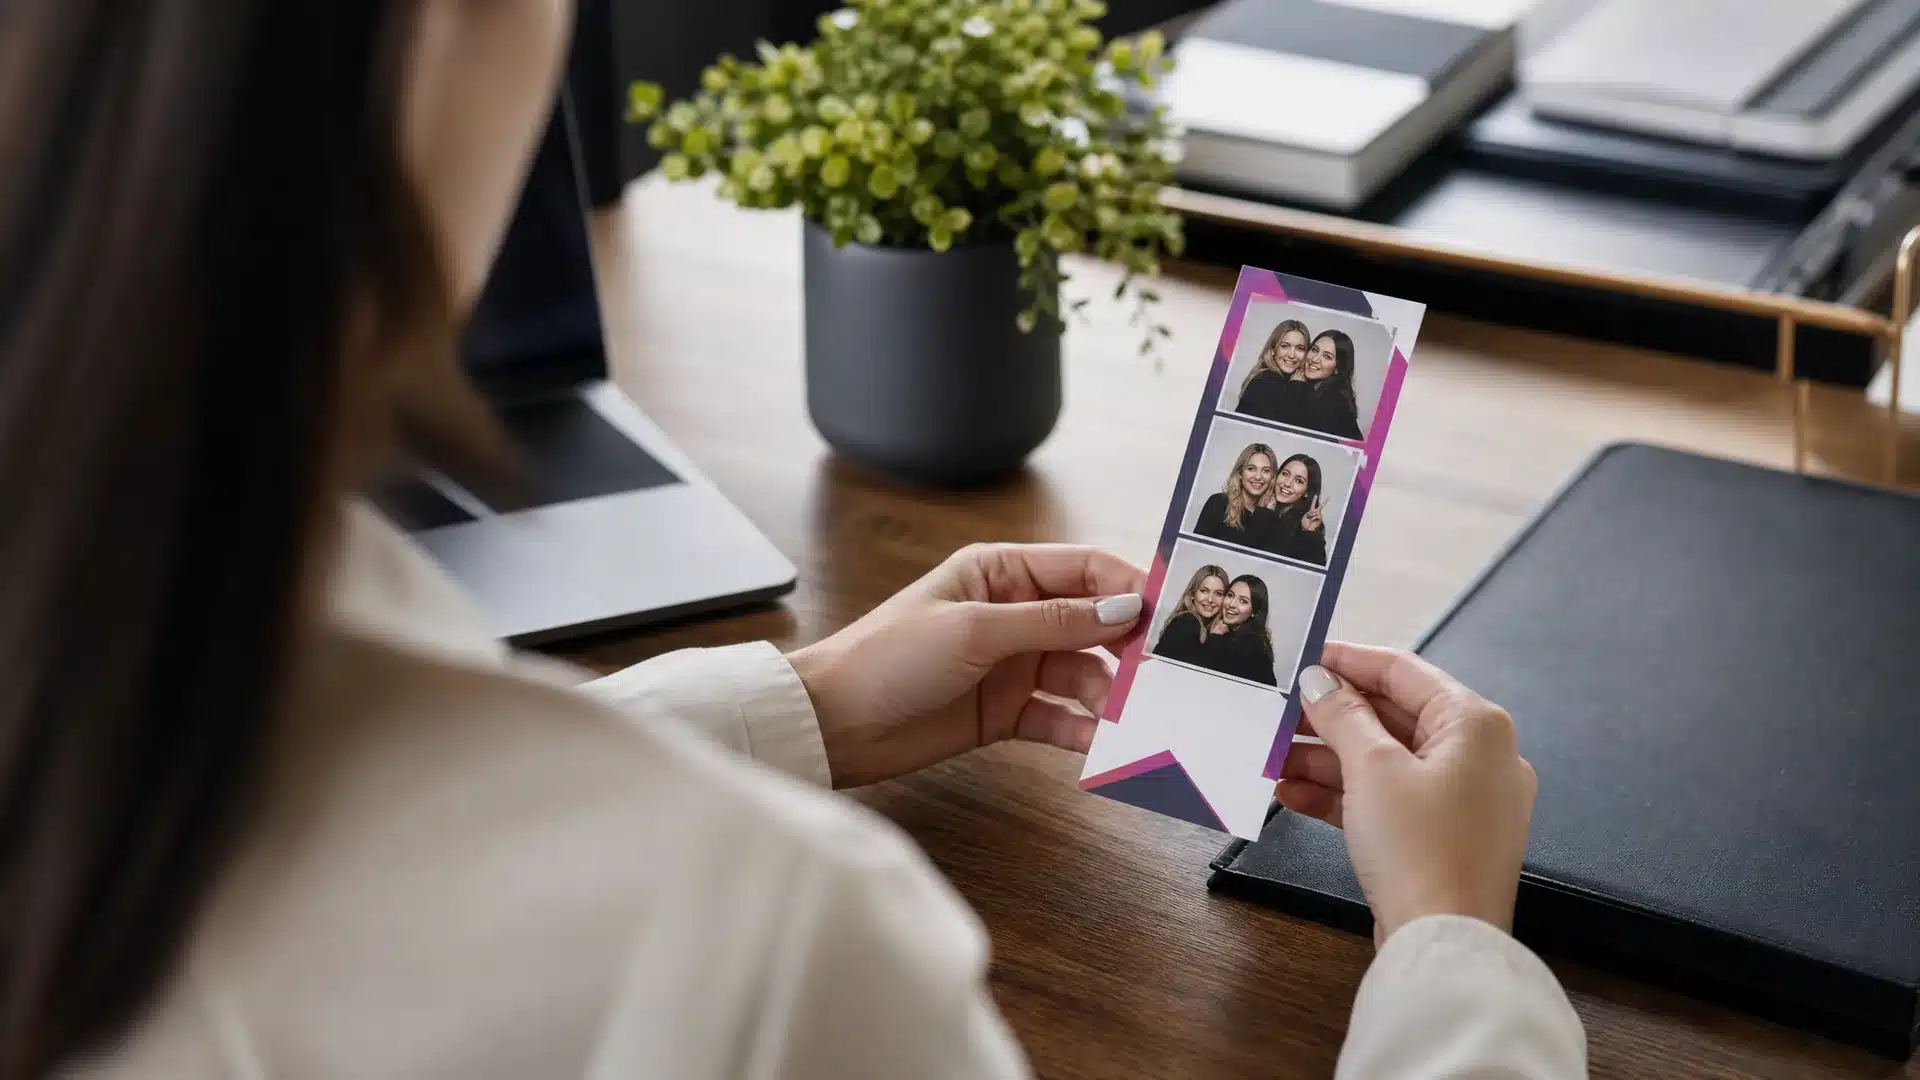
An overlay is the branded frame, border, or graphic layout added to every photo a booth produces. It sits around the photo itself and typically carries a logo, event name, date, and sometimes a tagline or hashtag. The photo changes with every guest. The overlay stays fixed.
For a corporate activation, the overlay is the piece of the experience that turns a fun keepsake into a marketing asset. A guest who walks away with a strip carrying the company logo, correct brand colors, and clean typography is holding a small, physical reminder of the event. Often, that guest shares a digital copy on social media within minutes.
Overlay Design vs. Off-the-Shelf Templates
Off-the-shelf overlay templates are built for general use: seasonal colors, generic fonts, placeholder text swapped for a name or date. They work fine for a birthday party. They don’t work for a company that has spent years building a specific visual identity.
Generic templates create problems for corporate marketing teams because they:
- Use fonts that don’t match approved brand typography
- Place logos in positions that violate clear-space or sizing rules in a brand guide
- Apply color values that are close to, but not exactly, a brand’s official palette
- Offer no review step before the file goes to print
Custom overlay design starts from the brand’s actual assets, logo files, color codes, typography, rather than a generic template with a logo pasted on top. That distinction matters most to marketing teams who answer to brand compliance standards internally.
The Corporate Brand Asset Submission Process, Step by Step
This is the step most consumer-facing photo booth content skips entirely. A corporate activation isn’t just “pick a template and go.” It runs through an intake and approval workflow similar to any other branded print job.
What to Send: Logos, Fonts, and Brand Guidelines
A vendor building a custom overlay needs a few specific things from the marketing team, ideally all at once rather than in pieces:
- Vector logo files, AI, EPS, or a high-resolution PNG with a transparent background. Vector logo files print far more cleanly on photo strips than low-resolution logos pulled from a website, which often blur or pixelate once enlarged.
- Brand color values, Pantone, CMYK, or hex codes, not just a screenshot of the logo.
- Approved fonts, either the font files themselves or a brand guideline PDF specifying font names.
- A brand guidelines document, if one exists. This answers most layout questions before they come up: logo clear space, minimum size, approved color combinations, and any elements the brand never wants altered.
- Event-specific copy, the event name, date, hashtag, or any campaign tagline that needs to appear on the strip.
Sending a full brand guidelines PDF up front, rather than a single logo file, cuts down on revision rounds later. It also gives the designer everything needed to make layout decisions that match how the brand already presents itself elsewhere.
Approval Rounds and Sign-Off Timelines
Once assets are in hand, the vendor builds a first proof and sends it back to the marketing contact for review. A typical corporate overlay project runs through two to three rounds of proofs: an initial design, a round of revisions based on feedback, and a final sign-off version.
Final approval sits with whoever the marketing team designates, usually a brand or marketing manager, sometimes a communications director for larger institutional clients. That person’s sign-off triggers the design going to print production. Having one clear decision-maker, rather than a committee reviewing separately, keeps the proof cycle from stalling.
A university career fair and a pharmaceutical product launch both go through the same submission steps: logo files, a brand guideline PDF, and proof sign-off. What changes is the color and messaging treatment on the final strip, based on the audience and setting. Philly Photo Booths has produced custom-branded overlays for institutional clients including Penn Medicine, Villanova, Merck, Urban Outfitters, and the Philadelphia Museum of Art. Each project runs through this same intake structure regardless of industry.
Company Logo Overlay Design Best Practices for Print and Digital Sharing
Good overlay design balances brand presence with legibility. The logo needs to be visible without crowding the photo itself, and the layout needs to hold up whether it’s printed on a 2×6 strip or viewed as a thumbnail on a phone screen.
Designing the Branded Photo Strip Template Layout
A well-built branded photo strip template follows a consistent hierarchy:
- Logo placed at the top or bottom, not overlapping guest faces in the photo area
- Adequate clear space around the logo so it doesn’t compete with borders or text
- Event name and date in a secondary, smaller position relative to the logo
- Brand colors used in the border or accent elements, with enough contrast against the photo background
- No more than one or two supporting text elements, a hashtag or tagline, not both crowded into the same space
The goal is a layout where the logo reads clearly even in a quick glance, since that’s usually all a guest gives it before pocketing the strip or tapping share.
Making Sure Overlays Work on Prints and Instant Digital Shares
Most events today produce two outputs from the same booth: a printed strip and a digital file guests share instantly to social media or text threads. A design that only accounts for print resolution can fall apart on screen, and vice versa.
Contrast is the biggest factor. A logo that reads fine on white cardstock can disappear against a busy photo background on a phone screen. Vendors test overlays against both light and dark sample photos before finalizing a design, checking that the logo and text stay legible either way.
File format matters too. Print output needs high-resolution files sized for the physical strip dimensions. Digital shares need a web-optimized version that loads quickly without a visible drop in quality. A properly built overlay design accounts for both from the start, rather than treating digital sharing as an afterthought.
Event Print Branding Guidelines Vendors Should Follow
Corporate buyers evaluating a vendor should expect clear print branding guidelines, not a one-off design decision made on the fly. That means documented specs for logo placement, color accuracy, and file handoff that a vendor can point to and repeat across events.
Brand Consistency Across Multiple Booths or Locations
Multi-day activations, campus tours, or events running several booths at once raise a specific risk: one booth’s overlay looking slightly different from another’s. That can happen when different operators load different file versions, or when a proof gets revised late and doesn’t reach every booth.
Vendors manage this by locking a single, final approved file and pushing it to every booth from one source, rather than letting each location work from its own copy. For large activations, this ties directly into broader logistics. A company running several booths at a conference needs the same coordination for managing guest flow at large-scale events as it does for keeping the branding identical at each station.
Full-service vendors handle staffing, setup, and guest flow alongside overlay design, so the branded print is only one piece of a coordinated on-site activation. That coordination is what keeps a three-day conference or a multi-campus tour looking like one consistent brand experience instead of several disconnected ones.
Timeline: When to Submit Brand Assets Before Your Event
Brand asset submission works best when it happens early, not the week of the event. Marketing teams should plan to send logo files, brand guidelines, and event copy at least two to three weeks before the event date. That window leaves room for the standard proof-and-revision cycle without rushing a final sign-off.
Events with multiple booths, multiple locations, or additional stakeholders reviewing the proof should submit assets even earlier, since more reviewers generally means more time between proof rounds. Last-minute submissions are still possible, but they compress the review process and leave less room to catch a color or placement issue before the design goes to print.
Planners coordinating a larger activation, not just the photo booth piece, can find more context in the full corporate branded photo booth planning guide, which covers timeline planning alongside overlay design.
Getting Your Corporate Photo Booth Template Approved and Ready to Print
The process, start to finish, is straightforward: send brand assets, review an initial proof, work through a revision round or two, and get final sign-off from the designated approver. Once that approval is in hand, the file goes into print production and gets loaded onto every booth running at the event.
Corporate clients also typically need standard vendor documentation, insurance certificates, W-9 forms, and similar procurement paperwork, alongside the creative approval process. Those requirements are covered separately in vendor procurement requirements like COI and W-9, which corporate procurement teams often request before finalizing a contract.
University administrators planning orientation events, career fairs, or alumni weekends can also review the campus event photo booth guide for guidance specific to that setting.
Corporate marketing teams ready to move forward can view corporate photo booth services or request a corporate photo booth quote to start the brand asset submission process for an upcoming event.
brand asset guidelines event vendor, branded photo strip template, company logo overlay design, corporate photo booth template, event print branding